Adding Anaconda Assistant to Workbench#
Anaconda Assistant is the AI pair programmer developed by Anaconda to assist you with coding in your Jupyter Notebooks. You can install the Anaconda Assistant as an optional component of the Data Science & AI Workbench.
Installing Anaconda Assistant#
Open a browser and log in to Workbench as the
anaconda-enterpriseuser.Open any existing project and view its settings.
If necessary, change the Default Editor to JupyterLab.
Open a project session.
Open a terminal window in your project session.
Download the Anaconda Assistant tarball and its checksum by running the following commands:
curl -O https://airgap-svc.s3.amazonaws.com/misc/jupyter-as-tgz-0.3.5_4.tgz
curl -O https://airgap-svc.s3.amazonaws.com/misc/jupyter-as-tgz-0.3.5_4.tgz.sha256
Verify the checksum of the files you downloaded by running the following command:
sha256sum -check jupyter-as-tgz-0.3.5_4.tgz.sha256
Unpack the tarball you just downloaded into the tools directory by running the following command:
tar xvzf jupyter-as-tgz-0.3.5_4.tgz -C /tools
Tip
Keep this session open while you enable the Anaconda Assistant.
Enabling the Anaconda Assistant#
Obtaining an anaconda.cloud token#
To enable the Anaconda Assistant, you must have an Anaconda Cloud account. If you do not have an Anaconda Cloud account, create one now.
Note
You must obtain your token from a machine that has connectivity to https://anaconda.cloud/.
Anaconda Assistant utilizes a token that must be generated using the anaconda-cloud-cli package, which is available in Anaconda’s default channel. This token provides your Workbench instance with access to the Anaconda Assistant API.
Open a terminal application outside of Workbench on your machine.
Create a conda environment with the packages you need by running the following command:
conda create -n anaconda-cloud -y anaconda-cloud-auth anaconda-cloud-cli
Activate your new environment by running the following command:
conda activate anaconda-cloud
Log in to anaconda.cloud by running the following command:
anaconda login
Select
anaconda.cloudand press Enter/return.Use the browser window that appears to log in to Anaconda Cloud using your account credentials.
Tip
You can close the window once you are logged in.
Return to your terminal application (outside of Workbench) and enter a python command prompt by running the following command:
python
View your token by running the following commands:
from anaconda_cloud_auth.token import TokenInfo
TokenInfo.load('id.anaconda.cloud').api_key
Note
Store this token in a secure location for now.
Setting environment variables#
Connect to your instance of Workbench.
Edit the
anaconda-enterprise-env-var-configconfigmap by following the process for setting global config variables.Include the following lines:
# Replace <CLOUD_API_TOKEN> with the your cloud API token
ANACONDA_AE5_CLOUD_TOKEN: <CLOUD_API_TOKEN>
ANACONDA_ASSISTANT_ENVIRONMENT_TYPE: enterprise-notebooks-prod
Verifying installation#
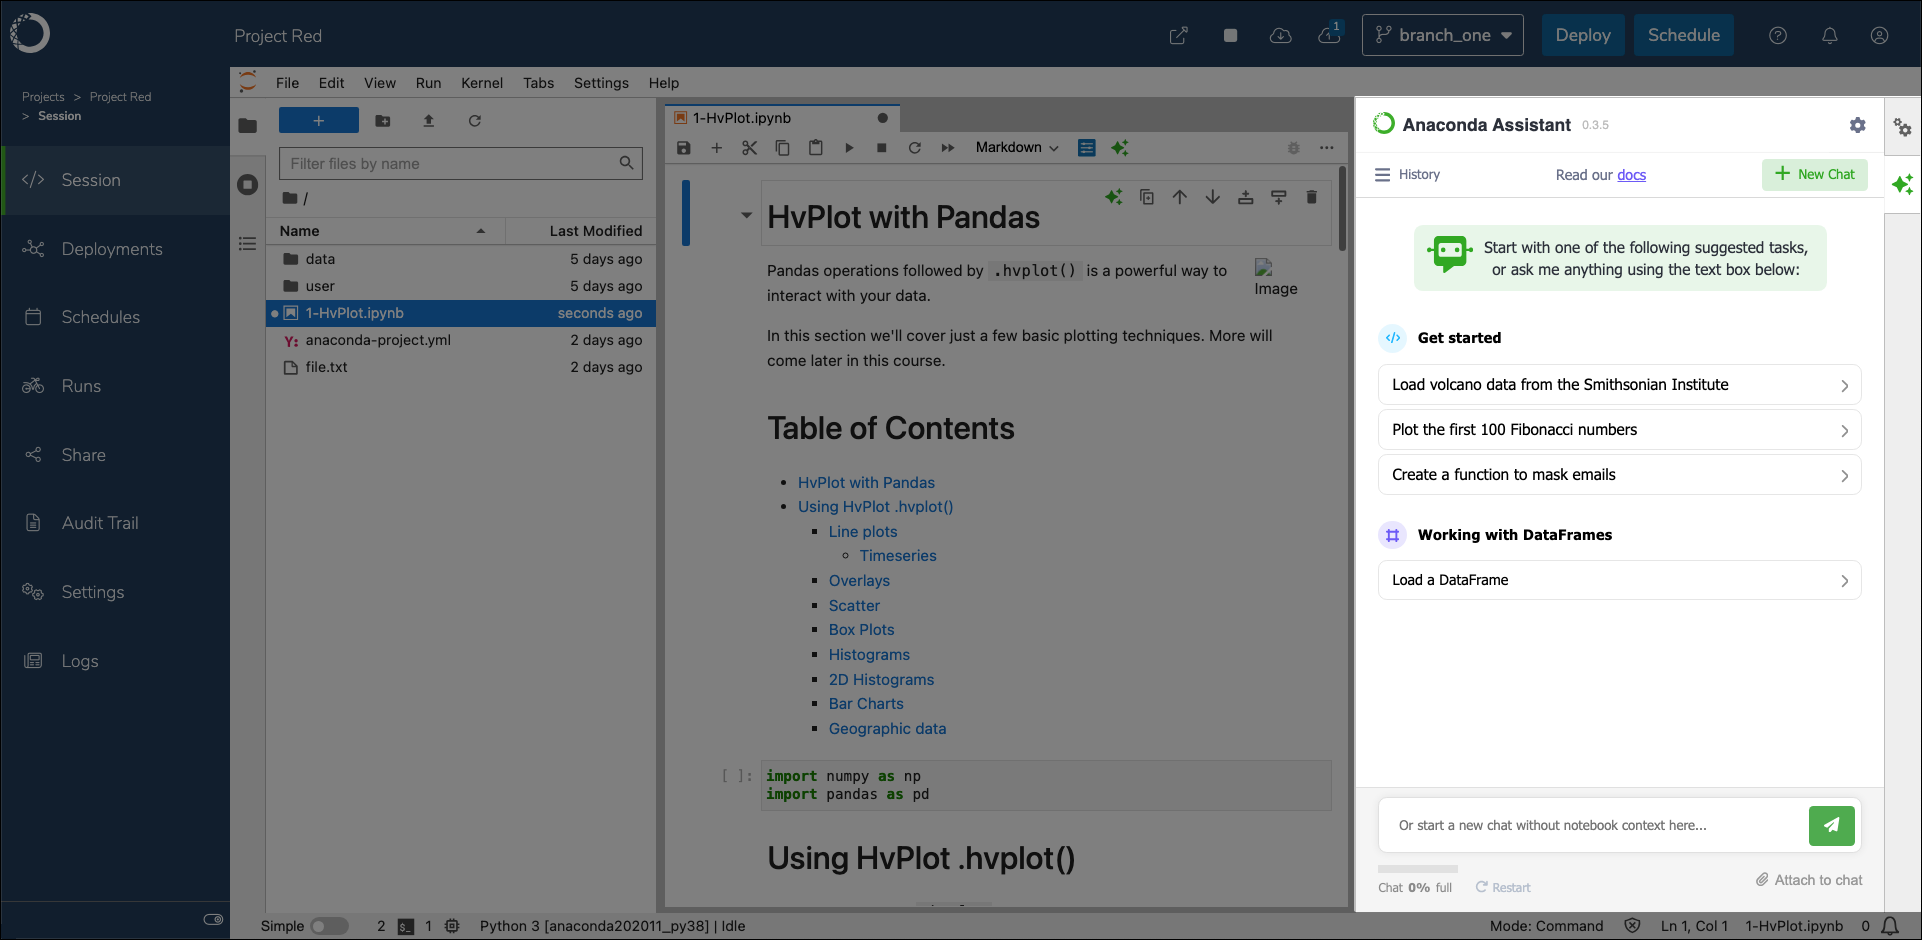
With the tarball extracted into the /tools volume and your anaconda.cloud API key stored as a system variable, return to Workbench and create a new project with JupyterLab as its default editor. You will see the Anaconda Assistant on the right hand side of the screen when you open a notebook (.ipynb) file.
For more information about how to use the Assistant, see the Anaconda Assistant quickstart guide.